Taming the Uphill: A Veteran Cyclist’s Tips for Conquering Hills on an E-Bike
Welcome to the world of e-biking. You probably already know how great it feels to steamroll little rises and scoot into the wind. But now you’re facing that long, sinuous hill over there on the horizon that you used to detour around when you were driving, and you’re thinking, “Can I really ride up that?”
Absolutely, the answer is yes. Hills on an e-bike are not challenges; they are opportunities. These are the moments when the collaboration between you and your machine really clicks. Having spent thousands of hours searching out everything from easy, paved ascents to technical, root-strewn singletrack, I can tell you climbing is a skill. The engine is your muscle; you are the brains.
The purpose of this guide is to be your trainer. We are going to do more than tell you to "use Turbo mode." We will demystify the mechanics, the mindset, and the nuanced skills you need to be a confident, efficient, and safe climber on any terrain.

Part 1: The Base - Getting to Know Your Climbing Partner
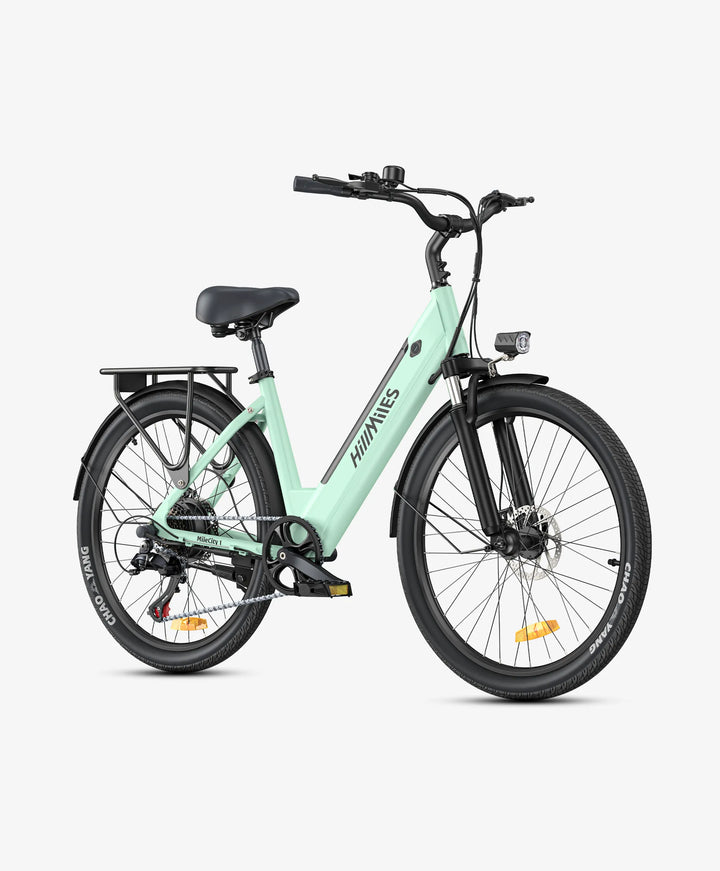
Before you can even point your wheel uphill, you have to know the tools you have to work with. Your e-bike is less a bicycle with a motor and more of an integrated system. The first thing to understand is its components.
Gears vs. Assist Levels: The Two Halves of Power
This is the number one thing for a new e-bike rider to understand. A lot of beginners ride in too high a gear and just crank up the assist level. Not only is this inefficient and bad for your motor and chain, but it also tends to give you a jerky, uncontrolled ride.
- Your Gears (Mechanical): These are the transmission for your legs. Lower gears (the larger cogs on the rear wheel) enable you to pedal faster and with less effort (higher cadence) to attain the same forward motion. This is crucial for hills. When you first start to approach a climb, shift into an easier gear. It is something you can pedal smoothly, and it is what the e-bike’s motor is specifically made to work with.
- Your Assist Levels (Electrical): This is how much help the motor gives you. Eco, Tour, Sport, and Turbo (names can vary by brand) are various levels at which you can draw on power from the motor to supplement your own pedalling. Riding in a higher assist mode feels similar to having a stronger friend pushing against your back while heading up a hill.
The Golden Rule: Keep the pace of your pedalling (your cadence) comfortable and consistent by switching gears. Use your assist level to manage your speed and effort level. Gears are for how you pedal; assist is for how much of a lift you are given.
It’s All About the Type: Hub-Drive vs. Mid-Drive
Knowing your motor alters your climbing style.
- Mid-Drive Motors (e.g., Bosch, Shimano, Brose): These drive systems are situated at the cranks (the point at which your pedals attach) and transmit power directly to the drivetrain. This is a massive advantage for climbing because the motor uses your bike’s mechanical gears. When you change to an easier gear, the motor is also given the mechanical advantage, meaning that it serves up high torque efficiently. It feels organic, powerful, and is the superior system for hard climbing.
- Hub-Drive Motors (Frequently on cheaper e-bikes): These motors reside in the hub of the rear (or sometimes front) wheel. They power the wheel directly, independent of your gears. They’re great for flatter land but may occasionally struggle with very steep, slow-speed climbs, since they work best when the wheel is spinning faster. Keeping your speed high ahead of the hill becomes even more important on a hub-drive bike.

Part 2: The Core Skill - The First Ascent
Now that we have that base, it’s time to look at the actionable tactics. Let’s begin on a paved road—your proving ground.
Anticipate the Hill: Look Ahead
The worst time to prepare for a climb is when you’re already on it, decelerating and digging. Look far down the road. See the gradient change? That’s your cue. Don't wait.
Shift Early, Shift Often
As you start to approach the hill, while you still have momentum, go down one or two gears. That should make your pedals easier to turn. Try to keep the cadence at about 70-90 RPM (with one pedal stroke occurring just more than one time per second). You want to feel as if you’re spinning, not mashing or stomping on the pedals. As the climb gets steeper, keep shifting down to maintain that cadence.
Apply Power Smoothly
Take advantage of the ability to simultaneously adjust your assist level with your gear changes. If you’re puttering along in “Eco,” switch to “Tour” or “Sport.” Don't succumb to the urge to hit “Turbo” right away. It saps the battery in a hurry and can provide a surge of power so quick that it can make you feel unsafe. Think of the assist levels as a gradual throttle. Use just as much as necessary to keep the effort comfortable.
Get Your Body Position Right: The Climber's Stance
Your body weight is one of your most important tools for balance and traction.
- Stay Seated: Sit, rather than stand, on most climbs, particularly on pavement. This helps balance your weight on the rear wheel, maximising traction and avoiding a spinout.
- Slide Forward: On steeper sections, you will need to slide forward on the saddle. This changes your centre of gravity and will help keep the front wheel on the ground.
- Lean In: Hinge at the hips and bring your chest to the handlebars. It adds even more weight to the front wheel and creates a more aerodynamic profile. Your elbows should be bent and loose. A death grip on the handlebars is a sure way to become quickly fatigued and unstable.

Part 3: Mastering the Variables - Adjusting to Various Road Types
This is when you stop being a rider and become a technician. Each surface requires a slightly different tactic.
Scenario 1: The Long, Steady Paved Climb
This is a test of endurance and battery management.
- Technique: Find the sweet spot. Settle into a gear where you can ride with a comfortable, high cadence, and an assist level (like “Tour” or “Sport”) that gives you good support but that won’t kick the motor into the top of its range. This is about rhythm. Concentrate on a smooth pedal stroke and deep, even breathing. Do not hesitate to shift down or up one gear to accommodate slight changes in elevation.
- Pro Tip: This is where you practice "feathering" your assist. When you hit a flatter section, knock the assist down a notch to save battery. As it starts steepening again, bump it back up. A 20-minute climb in Sport will require considerably less battery than a 20-minute climb in Turbo.
Scenario 2: The Steep, Punchy Asphalt Hill
This is a brief, intense burst of exertion.
- Technique: Attack is the key. Carry as much momentum as you can into the base. Downshift into your easiest or second-easiest gear before you arrive at the steepest portion. Bump your assist up to “Sport” or “Turbo” a split second before you need it. As you reach the incline, lean your body far forward to keep the front wheel down. Here, the emphasis is on a short application of pure power.
- Pro Tip: This might require getting out of your seat. If you do, it’s a delicate dance. Stand up and move your hips forward over the handlebars while keeping enough weight centred to maintain traction with the rear wheel. Keep spinning those pedals in a fluid motion.
Scenario 3: Gravel and Loose Dirt Roads
The issue here is one of traction, not simply gradient.
Technique: Smoothness is everything. Abrupt power delivery is your enemy.
- Stay Seated: This is a must on loose surfaces. If you stand up, you unweight the rear tire, and it will more than likely spin out, causing you to lose all your momentum. Keep your rear end stuck to the saddle.
- Lower Assist Level: Avoid "Turbo." You’ll break traction with a big rush of torque. Use something lower and more manageable, like 'Tour' or 'Sport' and trust the lower gears.
- Choose Your Line: Look ahead to find the most densely packed, smoothest surface. Stay out of deep, loose gravel or sand.
- Keep Pedalling: Sustain a steady, smooth rotation. When you feel the rear tire start to slip, don’t panic and stop. Instead, try to relax the pressure on the pedals and concentrate on making perfect circles with your feet.
Scenario 4: Technical Off-Road Trails (Roots, Rocks, and Mud)
This is the advanced class. It combines the challenges of steepness and traction with the necessity to navigate obstacles.
Technique:
- Look Ahead: Don’t stare at your front tire. Peer 10 to 15 feet up the trail to select your line. You have to figure out how you’re going to get over that root or that rock well before you get there.
- Momentum is Your Friend: Going a bit faster before a short tech section can help you ride over it.
- Power Control is Key: Use just the power required to clear the obstacle and no more. A sudden “Turbo” kick on a wet root will send your back wheel sideways. Practice modulating power.
- The “Ratchet”: In super technical, rocky terrain, you may not be able to pedal through an entire stroke without striking a pedal on a rock (a “pedal strike”). Use half-strokes or "ratchet" strokes to maintain forward motion through the crux.
- Standing Bursts: While you want as much weight on the seat as possible for traction, sometimes it may benefit you to “unweight” the bike by doing a quick stand-up to pop the front wheel over a root or small ledge. It’s an advanced manoeuvre: stand, lunge forward to lift the front wheel, and then sit back down immediately to regain rear traction.

Part 4: Pro Tips and Troubleshooting
Once you have the hang of the very basics, these minor adjustments will really take you up a level.
Battery Management Is Hill Strategy
Heading out on a big, hilly ride without a full charge is a recipe for a very long walk. Know the range of your bike and plan accordingly. On a 50-mile ride with 3,000 feet of climbing, you can expect to consume a lot more battery than you will on a 50-mile flat ride. Try to maximise the use of the lower assist modes so that you have more battery when you need it on the climbs.
What to Do If You Stall
Everyone does it. You select the wrong gear or lose momentum and come to a standstill on a particularly steep section.
- Don't panic. Get one foot down securely.
- Angle your bike slightly on the hill, not straight up it. This makes it easier to get started.
- Shift into your easiest gear. Put the assist in a strong, but not jumpy, mode (“Sport” is often good).
- Place your uphill foot on the pedal at the 2 o’clock “power” position.
- Push off hard with your downhill foot on the ground while simultaneously pushing down hard on the pedal. The motor will kick in and help you regain your momentum.
The Art of Breathing
On tough sections, don’t hold your breath. Concentrate on breathing deep, rhythmic breaths from the diaphragm. It keeps your muscles oxygenated and helps you stay calm and focused.

Conclusion: Embrace the Ascent
Climbing on an e-bike is a dance between human power, mechanical gearing, and electric assistance. It turns forbidding terrain into accessible playgrounds. Begin with the fundamentals on paved roads. Learn the interplay of gears and assist. Perfect your body position. The next step is to apply these skills to more difficult terrain.
Every hill you scale is a victory. It’s a testament to your growing skill and confidence. Soon, a hill won’t be something you think of as an obstacle. You will see it, you will anticipate it, and you will smile, knowing that you have the tools and the technique to reach the top. Now get out there and enjoy the view—you’ve earned it.